
How I built Live Still Life
Do what you love and you will not realize how much fun learning really is. If you did not understand the heading, this is what I was referring to. I remember how it all started. I got a random email from my friend Sharat connecting me to two Dutch artists who were traveling to Bangalore wanted to know how to go about a project they were planning to do for their Art Collective. Well you all know how that turned out.
They came with a decent amount of research on how they wanted to go about it. Raspberry Pi model B with a Pi camera was the tool of their choice. Justus and Mingus had done their part of research on the setup of the entire project. We finally decided to start prototyping with the Pi. My language of choice for integration of the setup on Pi was python. The documentation on Pi Camera from the organization by itself is amazing. Made our lives easy. Within a few steps, we got our first crack at the Pi Camera.
The next challenge was to create Live Stream. There are obviously many ways and numerous blogs on how to create a live stream from an IP camera. From Pi Camera though? Not a lot, not really. Once we figured out how the mechanics of the camera capture are going to work out, we zeroed in on more important aspect of the project and here is what we wanted: 1. The stream should be data efficient. 2. The stream should be visible to anyone who visits the link, no matter what time or place. So it had to be scale-able. 3. Get the image composition right.
The asks look pretty easy right? But you have no idea how many calculations were done to get the image size just right. Finally we got it right. Thanks to the careful calculations done by Mingus. For the sake to data efficiency, we chose to post a picture a minute to the server. The picture was essentially a multipart POST request which was being made every minute by the python code running on the Pi. Oh and it tweets the image every 6 hours as well. Once the base code was ready, adding twitter functionality to it wasn't a uphill task. Meanwhile Justus and Mingus built out the housing and the stage for the project with hands and lots of hand tools.
Server was written using a module called Exprestify written on top of Express Js to facilitate easier RESTful functionalities. The server handles all the POST requests made by the Raspberry Pi and the GET Requests made by the client. I initially used flags on the server to make sure all the images were loading smooth. But soon I realized it wasn't the way to go. There were issues loading the images, all the time, because of the browser's caching.
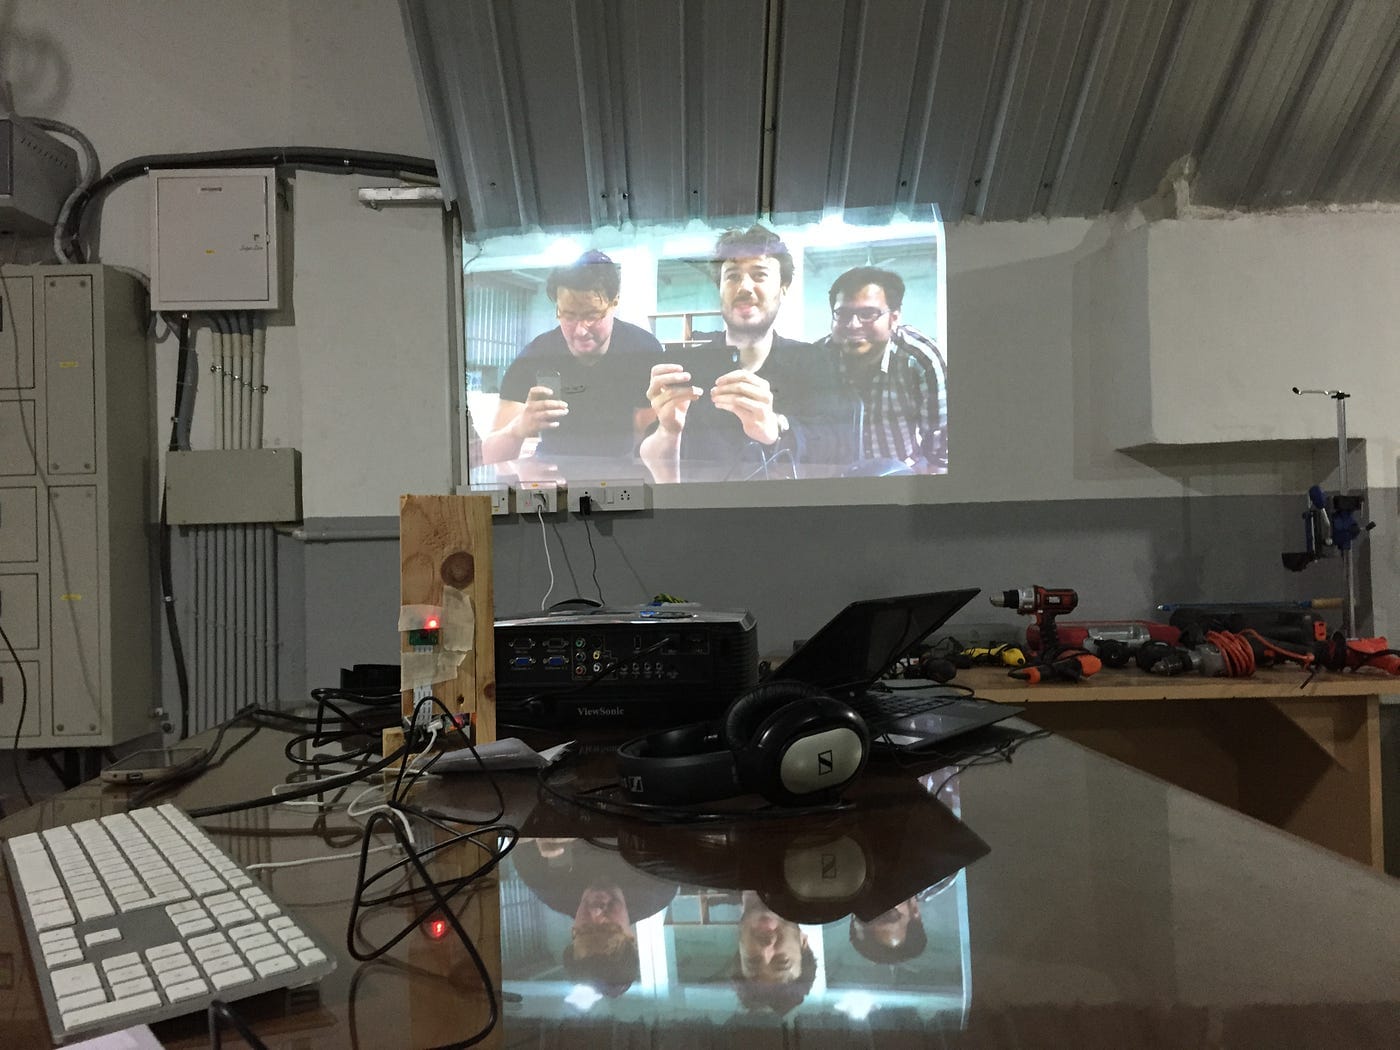
That is when I put two hacks together: First one, append time stamps to all the image urls so that caching issues could be handled. Second one, integrate socket-io functionality to push the images on to the client every time there was a change in the base image on the server's folder. Well there it was then, with a little tweaking I could test the functionality on the server. This amazing moment when the same day I deployed the code on Heroku and found out it works like a charm! Well so that was it, a few weeks of working at Workbench Projects with these two amazing people, we were able to get the stream up and running.
The key here is with the most accessible tools, a not-so-complicated logic on the server and the power of Heroku, we were able to get the project up and running within a few weeks for testing. It is now installed at Workbench Projects. Oh and it hasn't failed for 2 months now! When an old friend writes to you, have a look at that message, there are little pockets of happiness in every phone/email and every conversation. Oh and artists are super amazing to work with, they see the world from the eyes of a curious, excited and happy child. All I could see and feel was creativity and happiness, everywhere!

Member discussion